
By Jewlissa Frickey, editor, PostPress
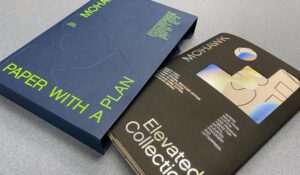
Sample booklets are nothing new to the paper industry, but Mohawk sought to revamp its own with an entirely re-imagined process of paper selection. The Paper with a Plan Collections Kit is a set of five sample booklets in custom slipcases that feature its papers grouped by their primary attributes: Beautiful, Sustainable, Expressive, Elevated and Practical.
DataGraphic, located in Commack, New York, was involved in the project and printed the multi-process Elevated Collection booklet as well as the screen printed custom slipcases that hold all five collections.
“Mohawk was interested in doing something unique and, of course, well executed,” said Glenn Schuster, president at DataGraphic. “We thought screen printing would be a great solution given the nature of paper stock.”
The Paper with a Plan Collections Kit was designed by Hybrid Design, San Francisco, California, and produced by Tocci Made, New York, New York. Other partnering print came from Kirkwood Printing Company of Wilmington, Massachusetts, and Flash Reproductions of Etobicoke, Ontario.
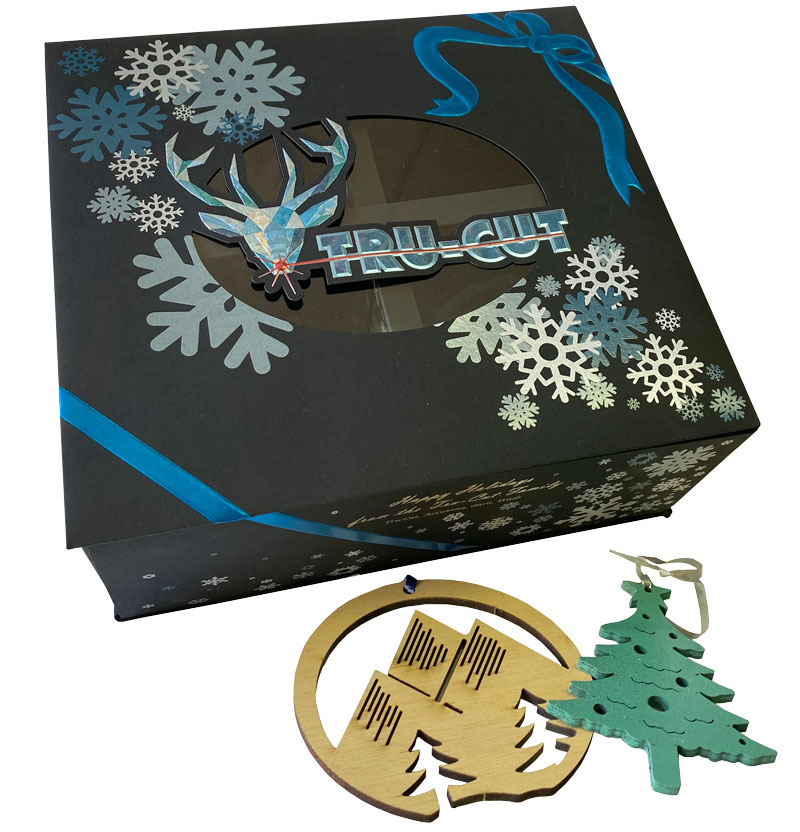
The slipcases, printed by DataGraphic, used a Carnival Deep Blue felt cover with an M&R Renegade UV flatbed screen press. The five custom slipcases were screen printed in a green gloss ink and embossed with the graphic symbols that represent each collection.
Specialty effects and embellishments were not spared during the project, Schuster noted, “On just the slipcases alone, we included debossing on our Thompson machine, then two hits of screen printing and, of course, the diecutting and assembly.”
“Printing on such dark paper was a challenge,” said Schuster. “But we were able to screen print first. Then we debossed and did two hits of green.” Schuster continued by saying, “We had a lot of trial runs to try and get that right, but we were all excited with the way the custom slipcases came together.”
Among the challenges was an initial registration issue. “Registration was challenging because of the fine type and the precision of the stamping,” said Schuster. “With the two hits of the screen press at two different passes, it took some time to get it perfect.”
Mohawk’s Paper with a Plan Collections Kit is a 6 x 9″ container filled with five unbound booklets representing each collection. Each booklet contains printed demonstrations and samples, including printed color and texture chips, that are approximate representations of all the papers that can be found from the full product offering in that Collection.
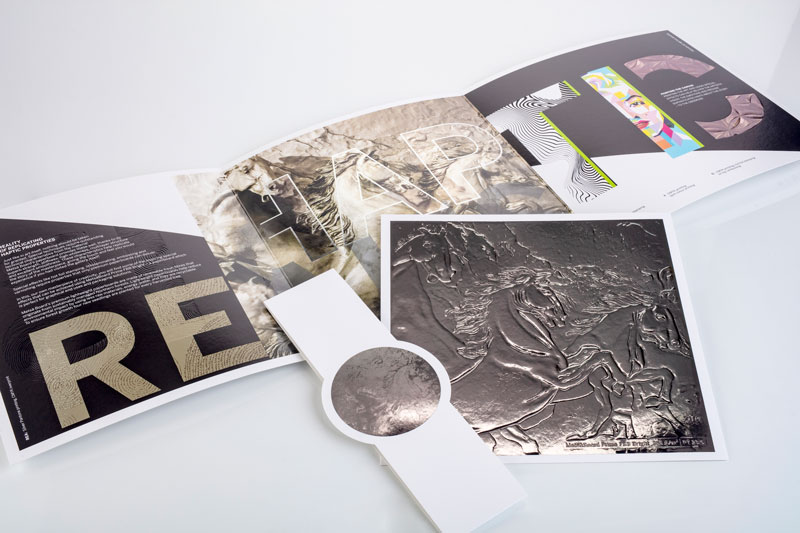
“In addition to the slipcases, we also were able to produce Mohawks Elevated Collection booklet,” said Schuster. The Elevated collection showcased some of Mohawk’s more famous stocks, traditionally used in stationery and letterpress, in various tones. Embellishments, such as embossing, engraving and foil, are more popular pairings with the papers in this collection.

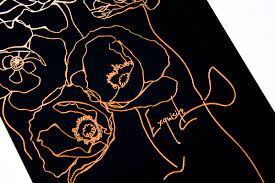
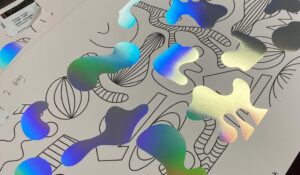
“The Elevated cover is diecut and shows through to beautiful holographic foils and impress papers that also are cotton,” said Schuster. The papers included in the elevated booklet include Crane’s Lettra Dark Black for its cover, the impress cover used Crane’s Lettra Light Pink and Crane’s Ecru and the interior also used Crane’s Lettra Light Pink.
The ecru sheet was letterpress printed, while the light pink sheet was offset printed and foil stamped with holographic foil. “The booklet consisted of some really interesting artwork that really made the holographic foil stamping and letterpressing fun,” said Schuster.
Along with the pink sheet, the black cover was foil stamped and diecut and the white sheet was offset printed. Then, all four leaves were die-scored, closed gate folded and nested into three folded pieces above and below the box to create the completed collection.
“The binding process consisted of four sheets in various sizes that have four gatefold panels,” noted Schuster. “This creates a waterfall of the different sheeting, leaving it loose bound. The final product is just collated and nested without any mechanical binding.” Leaving the booklets unbound gives viewers the opportunity to discover more information about the product. Each of the pages can be taken apart to find detailed chart information on the back of the sheets.
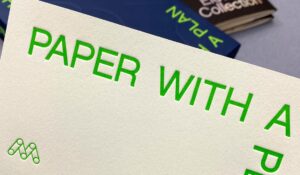
On top of the slipcases and Elevated booklet, DataGraphic produced an introduction card. It was made with a blue stock with green letterpress printing, similar to the green printing on the sleeve of the slipcases.
“We used a Heidelberg KSB Letterpress for the introduction card as well as for the letterpress printing of the inner sheets in the Elevated collection,” said Schuster.
“The collection itself still is pretty new,” Schuster stated. “It hasn’t been in the field too much, but we’ve already received great accolades from the industry. Our name being on it gives DataGraphic a lot of credibility, especially since the product was for Mohawk.”
The collections
Beautiful, Sustainable, Expressive, Elevated and Practical. These five categories bring the collection together with a more straightforward and simple way to think about paper.
The Beautiful collection focuses primarily on the photography industry with its formation papers, while also supporting other illustrations and solid ink coverage. Next, the Sustainable collection is for papers with recycled or alternative fibers and a compelling sustainability story, from hemp stalks to straw waste and recycled cotton fiber, to the highest levels of PCW fiber and certifications. Expressive collections are papers with distinctive tactile and colorful properties. The Elevated collection focuses on papers made from cotton and premium fibers for stationery and letterpress while the final collection, Practical, is made of the economical “workhorse” papers.